How to create your own stickers? - Complete guide for beginners
Want to learn how to make your own stickers? This guide gives you practical tips on materials, tools and techniques - from design to finished stickers. Perfect for both hobby and business.
Contents
- Introduction to making your own stickers
- Materials and tools for creating your own stickers
- Step-by-step guide: Create your own stickers
- Common mistakes to avoid
- Tips for beginners
- Advanced techniques for creating your own stickers
- Use cases for custom stickers
- Summary and next steps
- Frequently asked questions (FAQ)
Introduction to making your own stickers
Creating your own stickers has become a very popular hobby among both individuals and businesses. Personalized stickers allow you to decorate your gadgets, create unique gifts or build your brand in a creative way. Stickers are easy to make at home and offer great opportunities for personalization.
There are many advantages of making your own stickers compared to buying ready-made ones:
- You have full control over design, shape and size.
- You can create small runs for personal use or larger ones for businesses.
- It's cost-effective and fun!
The process is not difficult. With the right materials and tools, you can get started in no time. In this guide, we'll walk you through the process step by step - from idea to finished sticker. Want to save time and get professionally printed stickers? Then you can also design and order your own stickers directly online with us.
Materials and tools for creating your own stickers
To succeed in creating your own stickers, you will need some basic materials and tools. Many of these you may already have at home, while others can be bought in craft stores or ordered online. Here's what you need to get started:
- Self-adhesive sticker paper: Available in matte, glossy or transparent options. Choose the one that best suits your application.
- Vinyl material: For extra durable and water-resistant stickers, perfect for outdoor use.
- Printers: A standard inkjet printer works well for colorful designs. Laser printers provide water-resistant prints.
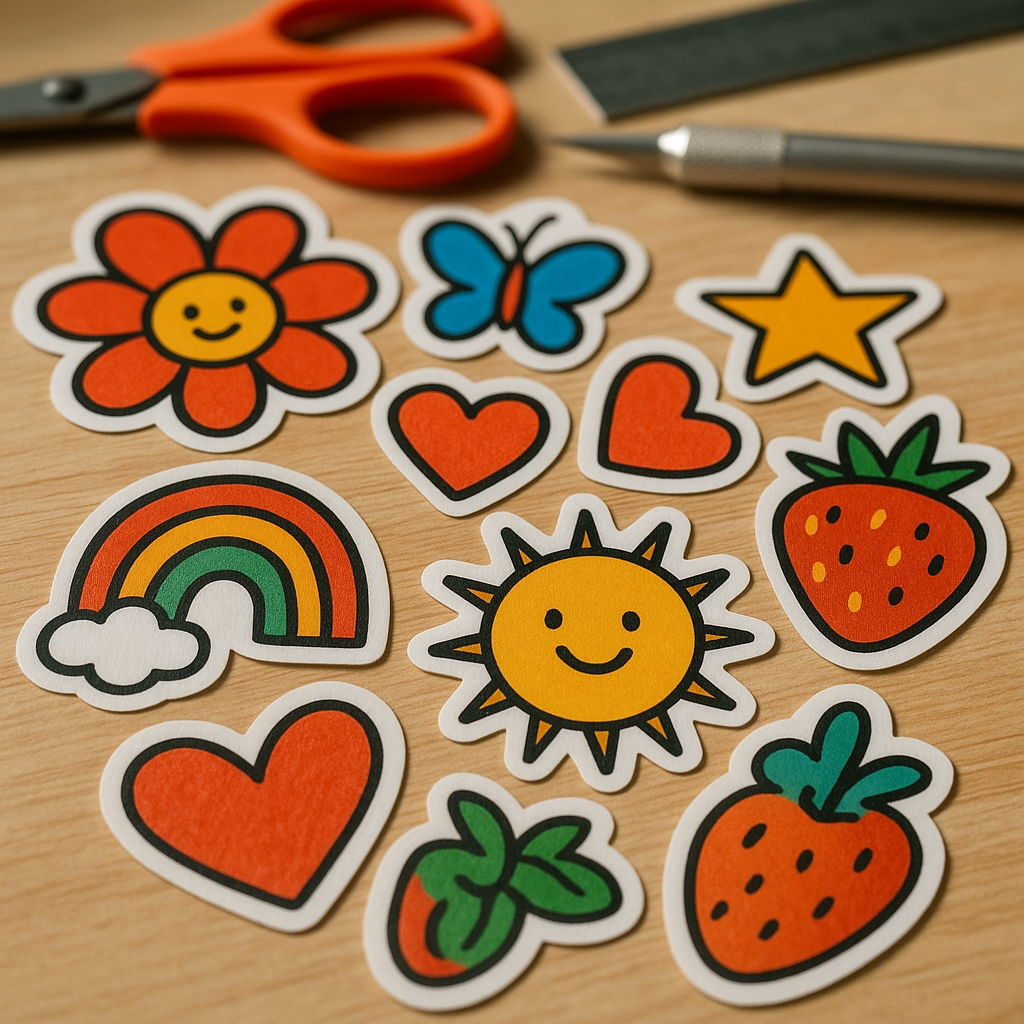
- Cutting tools: Use scissors, craft knife or a cutting machine like Cricut or Silhouette for precisely cut stickers.
- Lamination sheet or laminator: Protects stickers from scratches, dirt and moisture. Especially important if they are to be used outdoors.
- Design software: Programs like Canva, Adobe Illustrator or Procreate make it easy to create your own designs.
- Transfer tape: Used to apply vinyl stickers to different surfaces.
Do you want to make it easy for yourself and avoid printing and cutting yourself? Then you can design and order your own stickers directly in our online tool - fast, easy and with professional results!
Step-by-step guide: Create your own stickers
Now that you have the materials and tools ready, it's time to start creating your own stickers. Here's a simple step-by-step guide to help you through the whole process - from design to finished stickers.
Step 1: Design your sticker
The first step is to create the actual design for your stickers. This is where you can let your creativity flow!
- Use design programs like Canva, Adobe Illustrator or Procreate.
- Create your design in high resolution - preferably 300 dpi for best print quality.
- Use CMYK color mode if you intend to print your stickers.
- Add cutting lines and keep a safety margin around the design, so that nothing important is cut away when cutting out.
Step 2: Choose the right material and print
Once your design is ready, it's time to print the stickers.
- Choose the type of sticker paper that best suits your needs: matte, glossy, transparent or vinyl.
- Adjust your printer settings for best results. Choose the right paper profile and print with the highest quality available.
- Let the printout dry completely before moving on to the next step.
Step 3: Laminate for durability (optional)
Do you want your stickers to last extra long, especially if they're going to be used outdoors or exposed to wear and tear? Then lamination is a smart step.
- Use self-adhesive laminating sheets or a laminator.
- Choose between glossy, matte or holographic laminate depending on the finish you want.
- Apply the laminate carefully to avoid air bubbles.
Step 4: Cut out the stickers
Once the printing is complete and possibly laminated, it's time to cut out your stickers.
- For simpler shapes, you can use regular scissors or a craft knife.
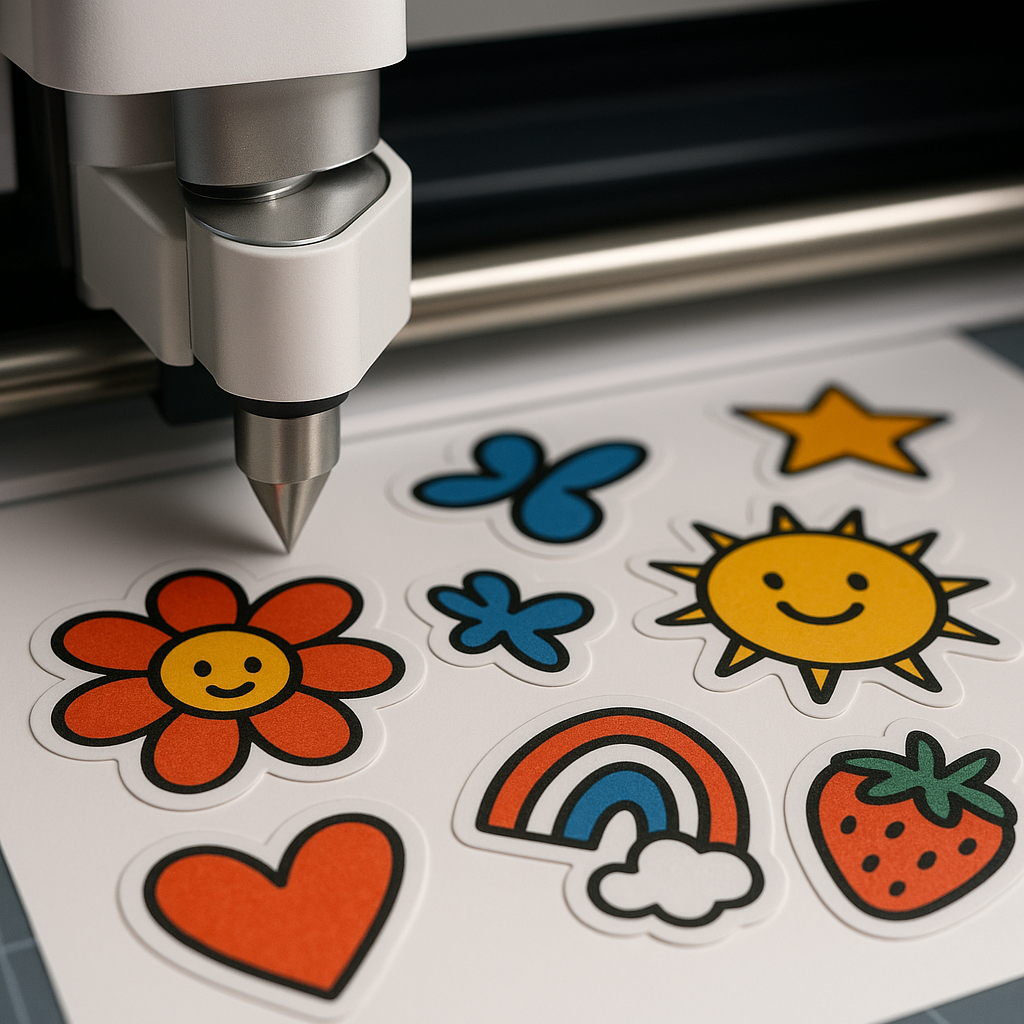
- For more detailed and precise cuts, a cutting machine such as Cricut or Silhouette is recommended.
- Consider whether you want to make die-cut stickers (cut out after the shape) or kiss-cut (left on a sheet and cut only in the top layer).
Step 5: Apply and enjoy
Now your stickers are ready to use!
- Clean the surface where you will apply the sticker thoroughly for best adhesion.
- Apply slowly and use a plastic card or similar tool to smooth and squeeze out any air bubbles.
Want to save time and get professional-quality stickers without printing or cutting yourself? Then you can design and order your own stickers directly from us - quickly, easily and with perfect results.
Common mistakes to avoid
To get the best possible results when creating your own stickers, it's good to know some common beginner mistakes. Here are some things to watch out for:
- Using low-resolution images: Images with too low a resolution can produce blurry or pixelated prints. Always use high-resolution images (300 dpi).
- Incorrect printer settings: If you do not adjust the printer for the correct paper type, the colors may be wrong or the printout may be blurred.
- Incorrect lamination for outdoor use: If the stickers are to be used outdoors, they should be laminated to withstand weather and UV radiation.
- Improper cutting: Sloppy cutting can lead to uneven edges or parts of the design being cut away. Use cutting aids for best results.
Tips for beginners
If you're new to sticker design, there are some smart tips to help you succeed from the start. Here is our best advice:
- Start with simple shapes: Start with circles, squares or simple motifs to learn the process before trying more advanced designs.
- Test on small projects: Make a few single stickers first to try out materials, printing and cutting, before going for larger runs.
- Choose the right materials: Try out different types of paper and vinyl to see which best suits your needs - both visually and practically.
- Save your design files: Always save the original files in high resolution so that you can easily adjust them or print more copies later.
- Use online tools for easy ordering: Want to avoid printing and cutting yourself? Then you can design and order your own stickers easily online - perfect for both individuals and businesses.
Advanced techniques for creating your own stickers
Once you've learned the basics, there are many ways to take your stickers to the next level. With advanced techniques, you can create even more unique and professional results. Here are some ideas to try:
- Use a cutting machine for complex designs: With a cutting machine like the Cricut or Silhouette, you can cut out highly detailed shapes that are difficult to achieve by hand.
- Create transparent stickers: Use transparent self-adhesive sticker paper to create designs that blend in nicely with the background.
- Special effects: Laminate with holographic, glitter or metallic laminates to create stickers that really stand out.
- Waterproof and UV-resistant stickers: For outdoor use or products exposed to moisture, vinyl stickers with lamination are the best choice.
Want to get professional-looking stickers without investing in expensive equipment? Then you can easily design and order your own stickers directly online - we take care of the printing and cutting for you!
Use cases for custom stickers
Custom stickers have a variety of uses - both for individuals and businesses. Here are some popular ways to use them:
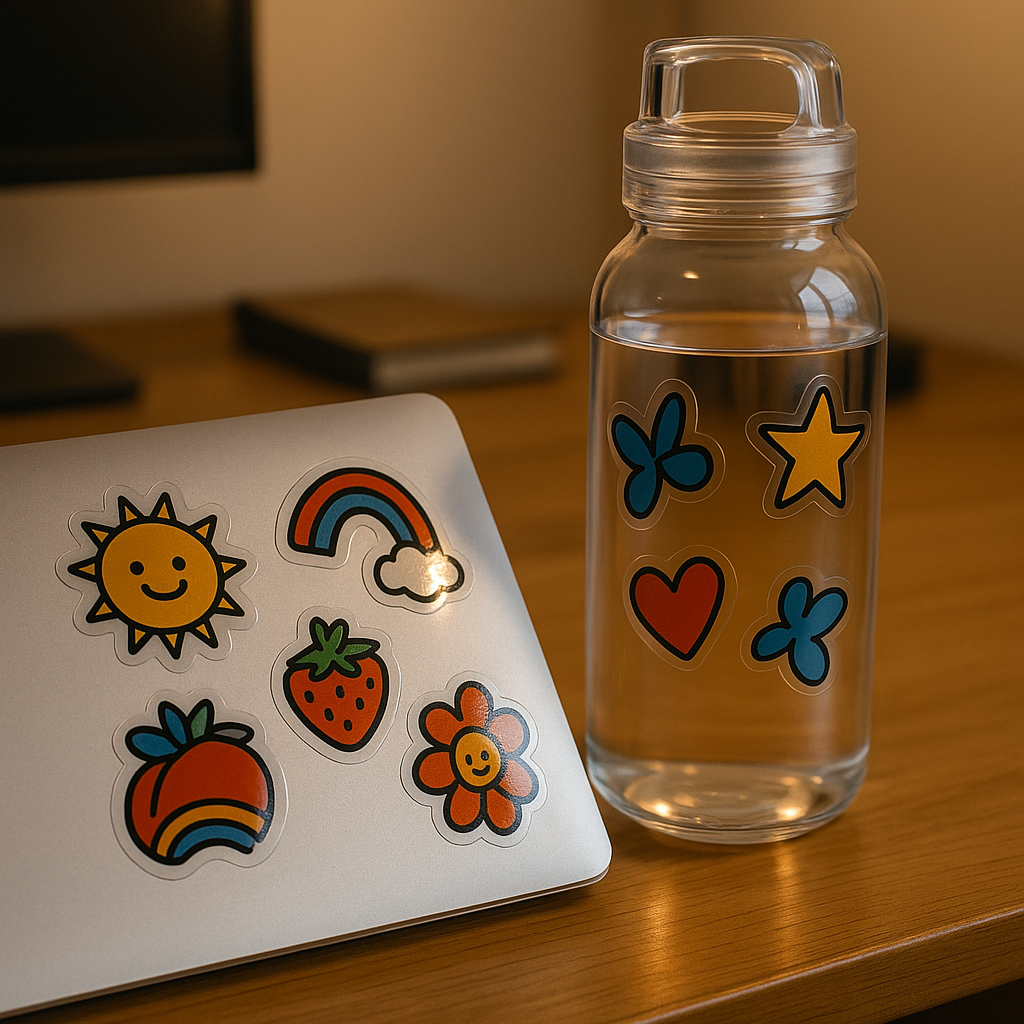
- Personal use: Decorate laptops, cell phone cases, water bottles, bicycles, school supplies or as part of scrapbooking and bullet journaling.
- Business use: Create product labels, profile stickers for branding, stickers as giveaways at trade shows or to customers.
- Events and parties: Use stickers as decoration for weddings, children's parties, christenings or corporate events.
- Hobby and art sales: Many illustrators and artists design and sell their own stickers, both online and at markets.
Whether you're creating stickers as a hobby, for your business or for a special event, you can easily design and order your own stickers with us - quickly, easily and with professional quality.
Summary and next steps
Making your own stickers is a creative and fun process suitable for both beginners and more experienced designers. With the right materials, tools and a little practice, you can easily create personalized stickers for everything from decoration to marketing.
By following our step-by-step guide, you now have the basics to get started on your own projects. Don't want to invest in printers, materials and cutting machines? Then you can design and order your own stickers directly in our online tool - we deliver professional-quality stickers ready to use.
Frequently Asked Questions (FAQ)
Here we answer some of the most frequently asked questions about how to create your own stickers, which materials work best and how to get a professional result.
Can you print your own stickers at home?
Yes, you can print your own stickers at home using an inkjet or laser printer and self-adhesive sticker paper.
What paper do you use to make your own stickers?
You use special self-adhesive sticker paper, which comes in matte, glossy, transparent or vinyl varieties for extra durability.
How do you make waterproof stickers?
To make stickers waterproof, you can use vinyl material or laminate the stickers with a protective laminate.
Do you need a cutting machine to make stickers?
No, you can cut out stickers by hand with scissors or a craft knife. But a cutting machine gives a more precise result, especially for complex shapes.
What is the difference between die-cut and kiss-cut stickers?
Die-cut stickers are cut all the way through the material, so they have the shape of the design itself. Kiss-cut stickers are cut in only the top layer, so they are often supplied on one sheet.
How to get the best print quality on stickers?
Use high resolution images (300 dpi), the correct color mode (CMYK) and adjust the printer settings for the type of paper you are using.
Can you create transparent stickers?
Yes, by using transparent adhesive sticker paper you can create stickers where only the design itself is visible.
How long do homemade stickers last?
The lifespan depends on the material and the application. Vinyl stickers with lamination can last several years even outdoors, while simpler paper can fade or peel off faster.
Can I design my own stickers online?
Yes, with us you can easily design and order your own stickers directly via our online tool - quickly, easily and with professional results.
What programs can you use to design stickers?
Popular programs are Canva, Adobe Illustrator and Procreate. These provide great creative freedom and high quality of design.